You shot something that looked fine in the camera app, cut it, posted it, and on someone else’s phone it came back grey. The colour is in the file. It stopped arriving somewhere between your screen and theirs.
Search for vivid imagery in video and the answer is always the same: download a LUT. I have done that on my own accounts more times than I want to admit — dropped a cinematic LUT on a clip, watched the skin go orange, pulled it back to 30%, and ended up with the same flat shot wearing a faint teal jacket. The LUT was doing its job. It was handed nothing to work with.
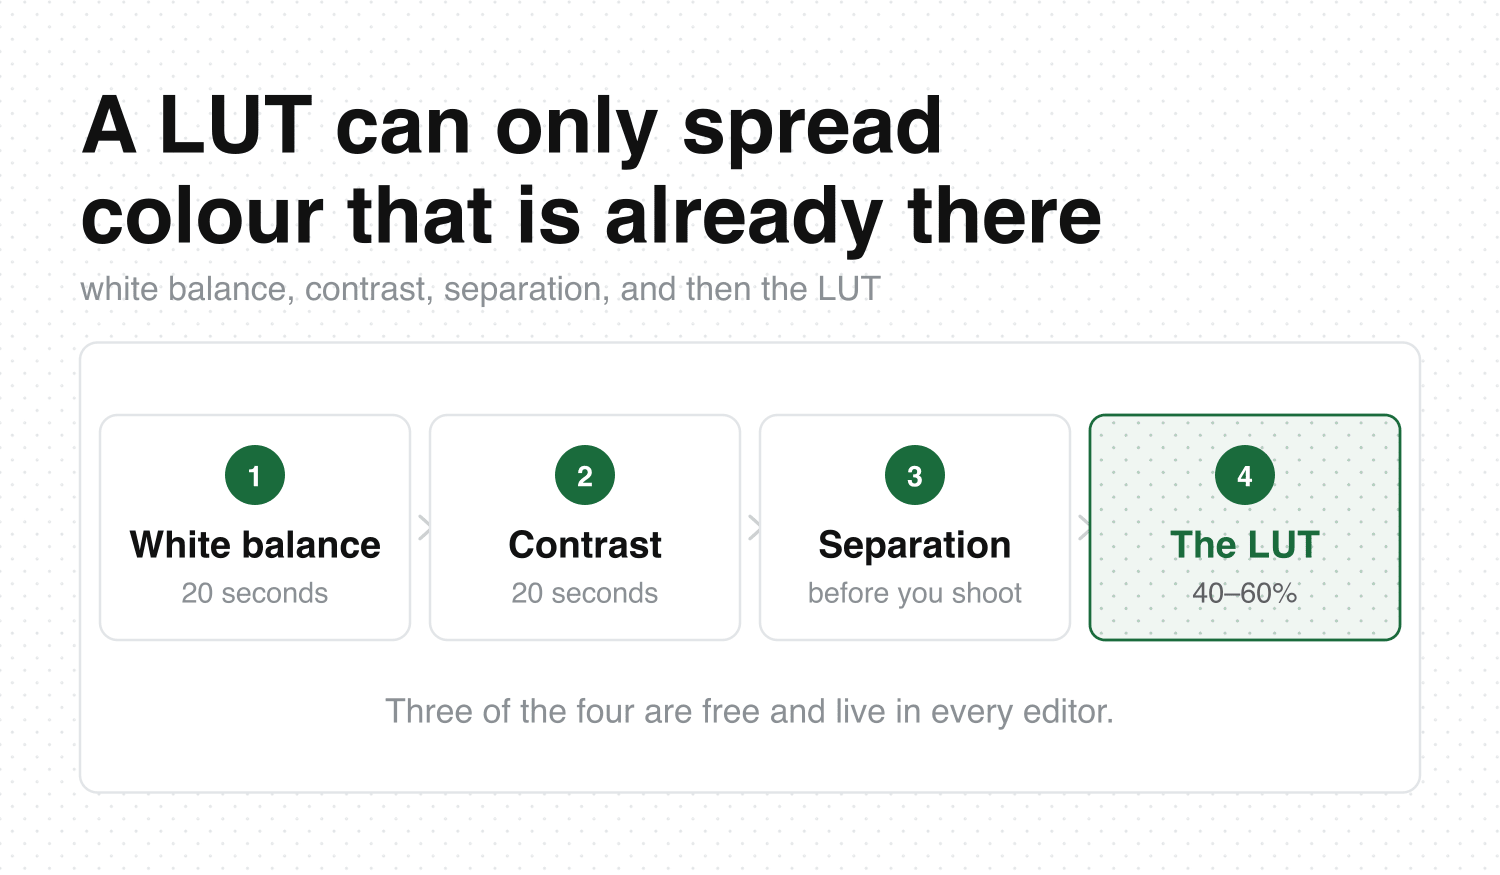
Open the clip in whatever you edit in. Do these four in this order, and stop when it looks right.
1. White balance. Slide temperature until something you know is white renders white. Every other colour lands in the right place once this one is honest. 2. Contrast. Pull the blacks down until the darkest part of the frame is genuinely dark. Most phone footage is lifted a few percent and that alone reads as haze. 3. Saturation, less than you think. Small moves. Skin breaks first, and it breaks before you notice on your own screen. 4. The LUT, at 40–60%.
Three of those four are free, live in every editor, and take about twenty seconds each.
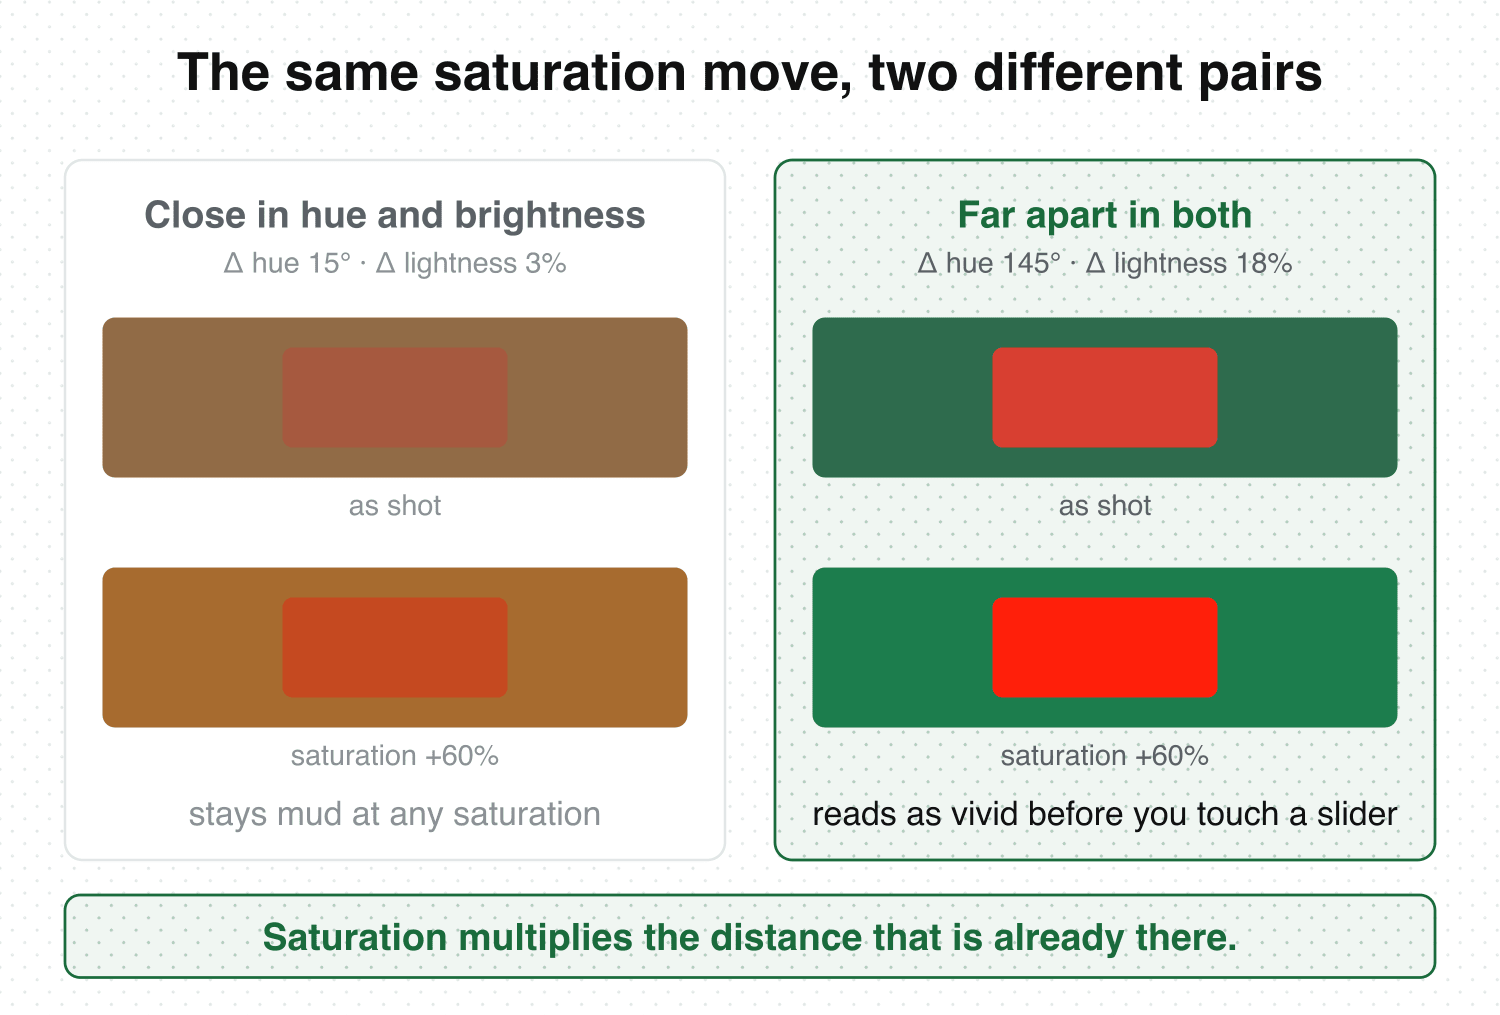
Vividness is colour separation: the distance between two colours in hue and in brightness. A red jacket against a green hedge is far apart in hue, so it reads as vivid at ordinary saturation. That same jacket against a brown fence sits close in both, and no amount of saturation pulls them apart — the slider multiplies a distance of nearly zero.
This is why grading feels like it stops working. You are asking a colour tool to create separation that the shot never contained. The fix happens before you press record: put the subject against something that differs from them in hue or in brightness, and let one light source be warmer than the room. A window doing the work of a key light gives you both at once, which is most of what the soft lighting piece is about.
The videos you save because they look expensive are usually doing this in the background, and it is nearly invisible until someone points at it. Working out what a shot was actually doing — where the light sat, what the subject was placed against, how long the shot held — takes longer than watching it.
Hookova takes any Short you paste in and breaks it down beat by beat, and the ones worth stealing from stay in a library that stays organized across TikTok, Instagram, and YouTube Shorts. Try it on the last video that made you stop.
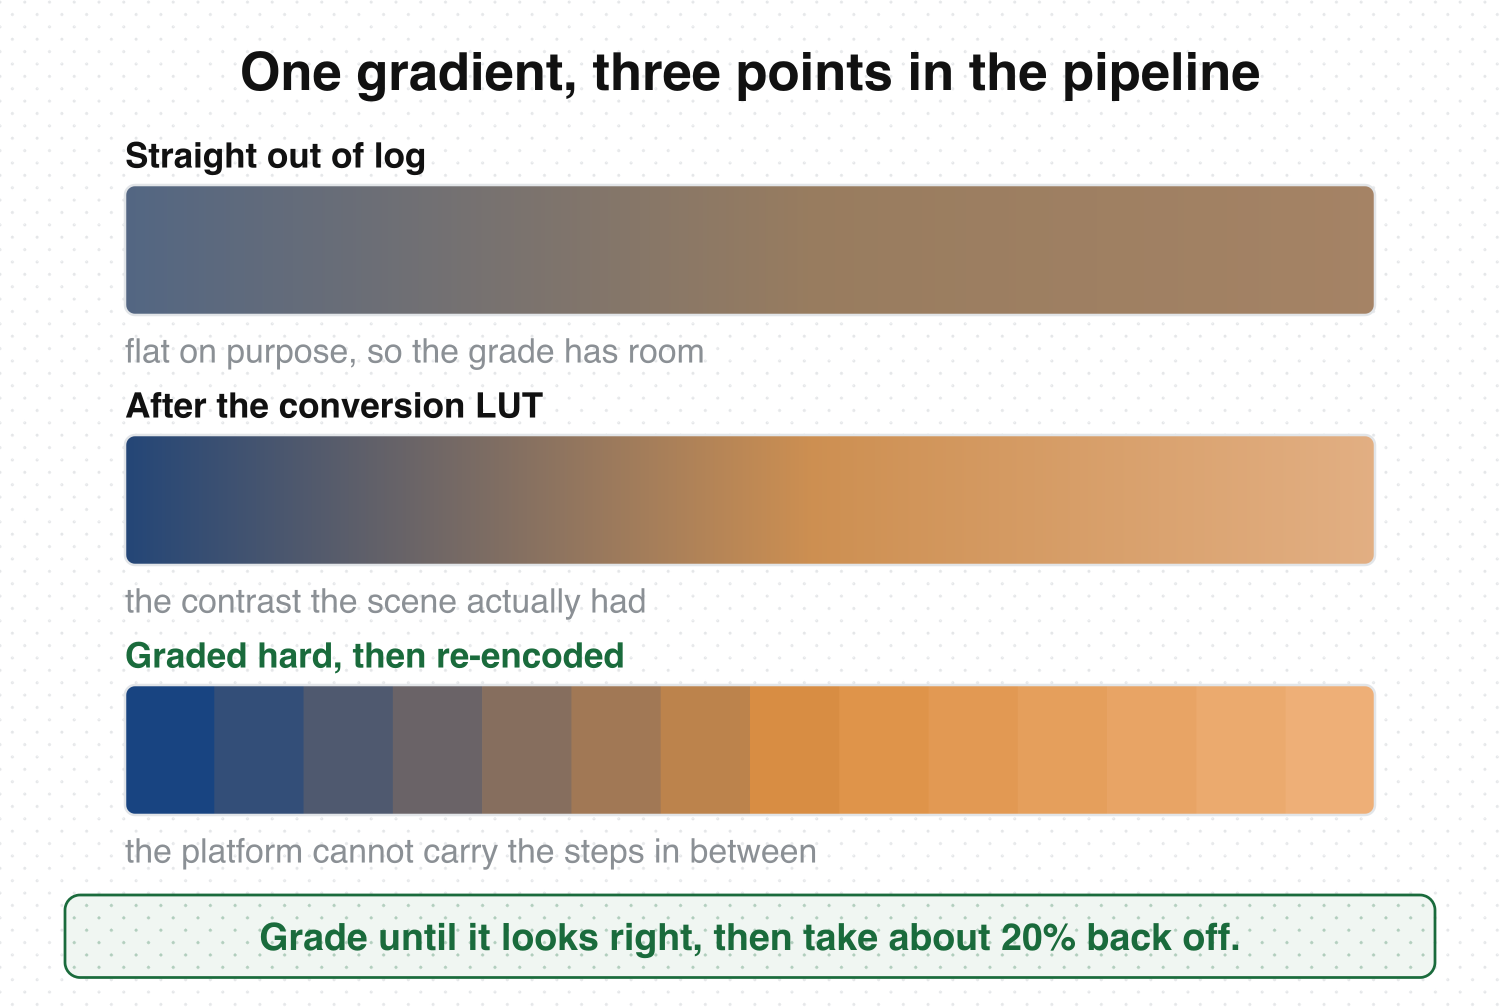
A log profile records deliberately flat, holding detail in the brightest and darkest parts so you can grade it later. Log footage needs a conversion LUT to look normal. That is the LUT’s actual job.
Phone footage from the normal camera app is already Rec.709. It has the conversion baked in. Put a log-conversion LUT on top and you are converting twice: the midtones wash out, the shadows crush, and the file looks worse than the one you started with. Check what a LUT is for before you apply it — the filename usually says, and anything reading LogC to 709 or SLog3 to 709 belongs only on footage shot in that profile.
The other thing that eats grades is the upload. TikTok and Instagram re-encode everything, and a heavy grade over a smooth surface — sky, a painted wall, a gradient background — arrives as banding. Grade until it looks right, then take about 20% back off. What survives compression is what the viewer actually sees.
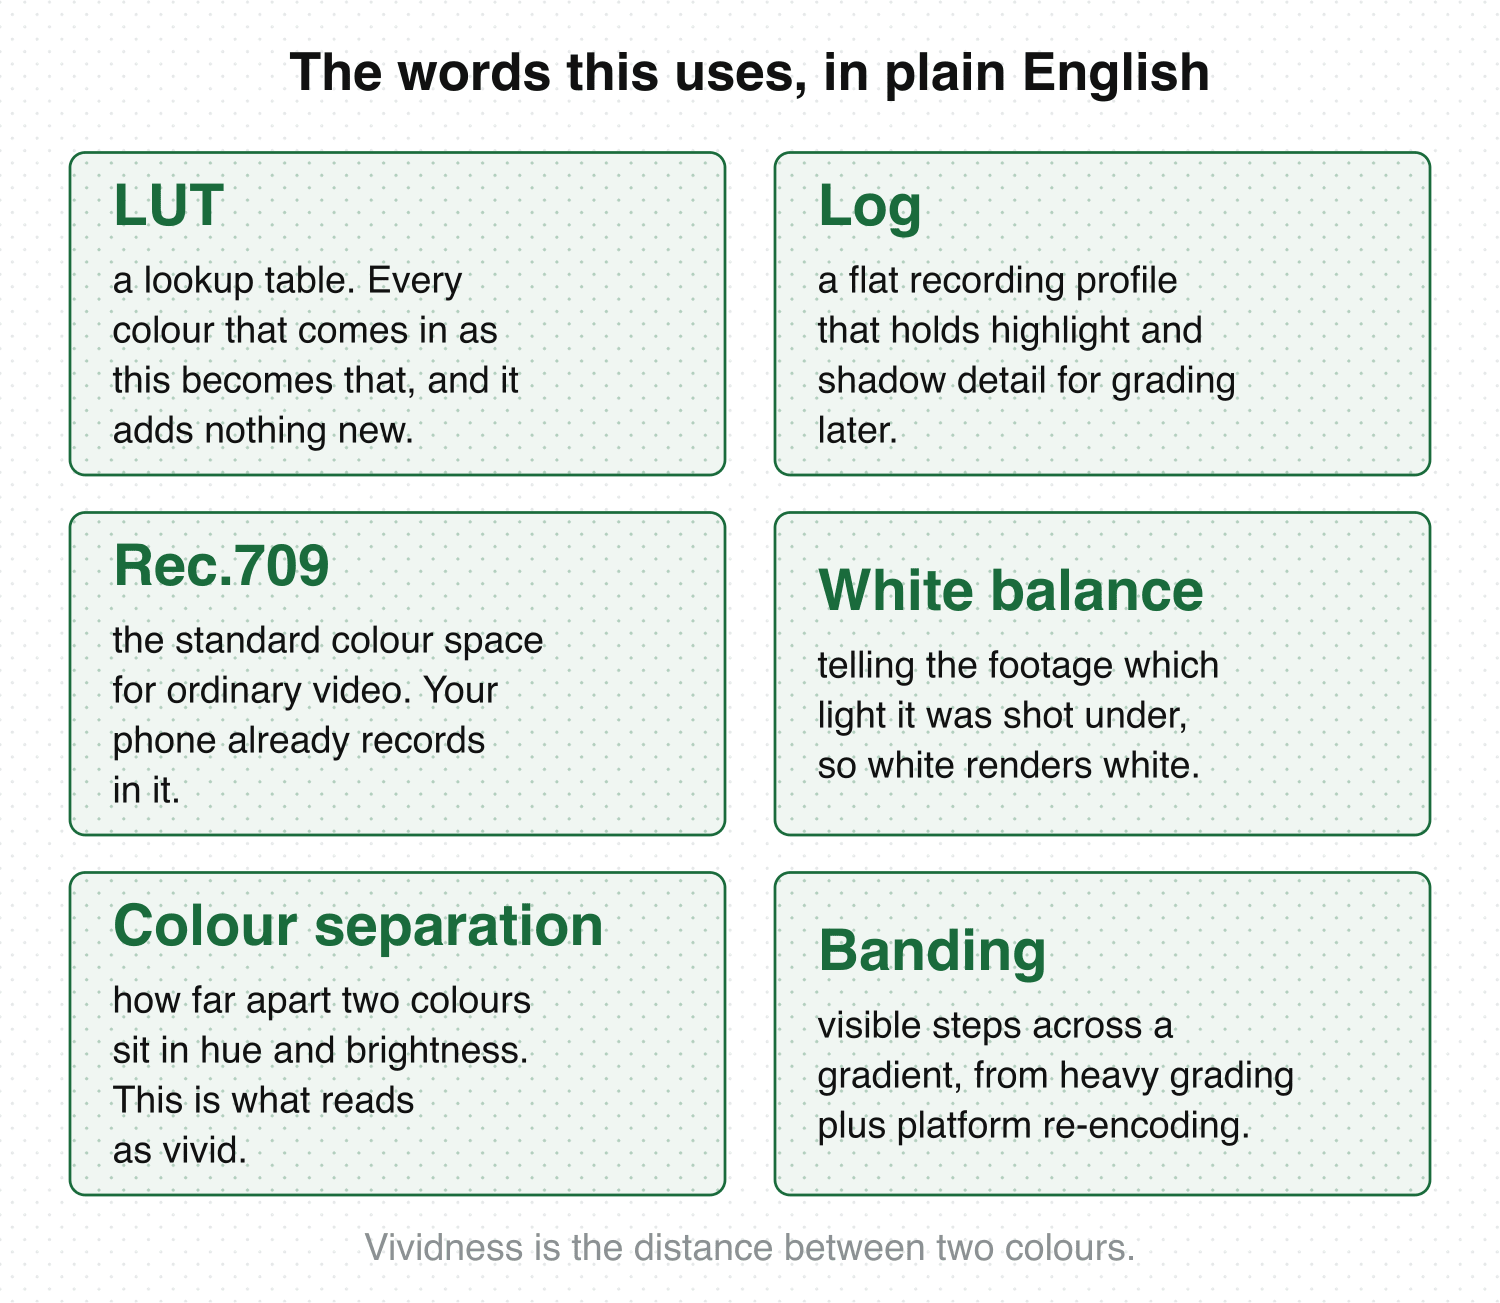
LUT — a lookup table. Every colour that comes in as this becomes that. It maps colour and adds nothing that was never recorded.
Log — a flat recording profile that holds highlight and shadow detail for grading later.
Rec.709 — the standard colour space for ordinary video. Your phone’s normal mode already records in it.
White balance — telling the footage which light it was shot under, so white renders white.
Colour separation — how far apart two colours sit in hue and brightness. This is what reads as vivid.
Banding — visible steps across a gradient, produced by heavy grading plus platform re-encoding.
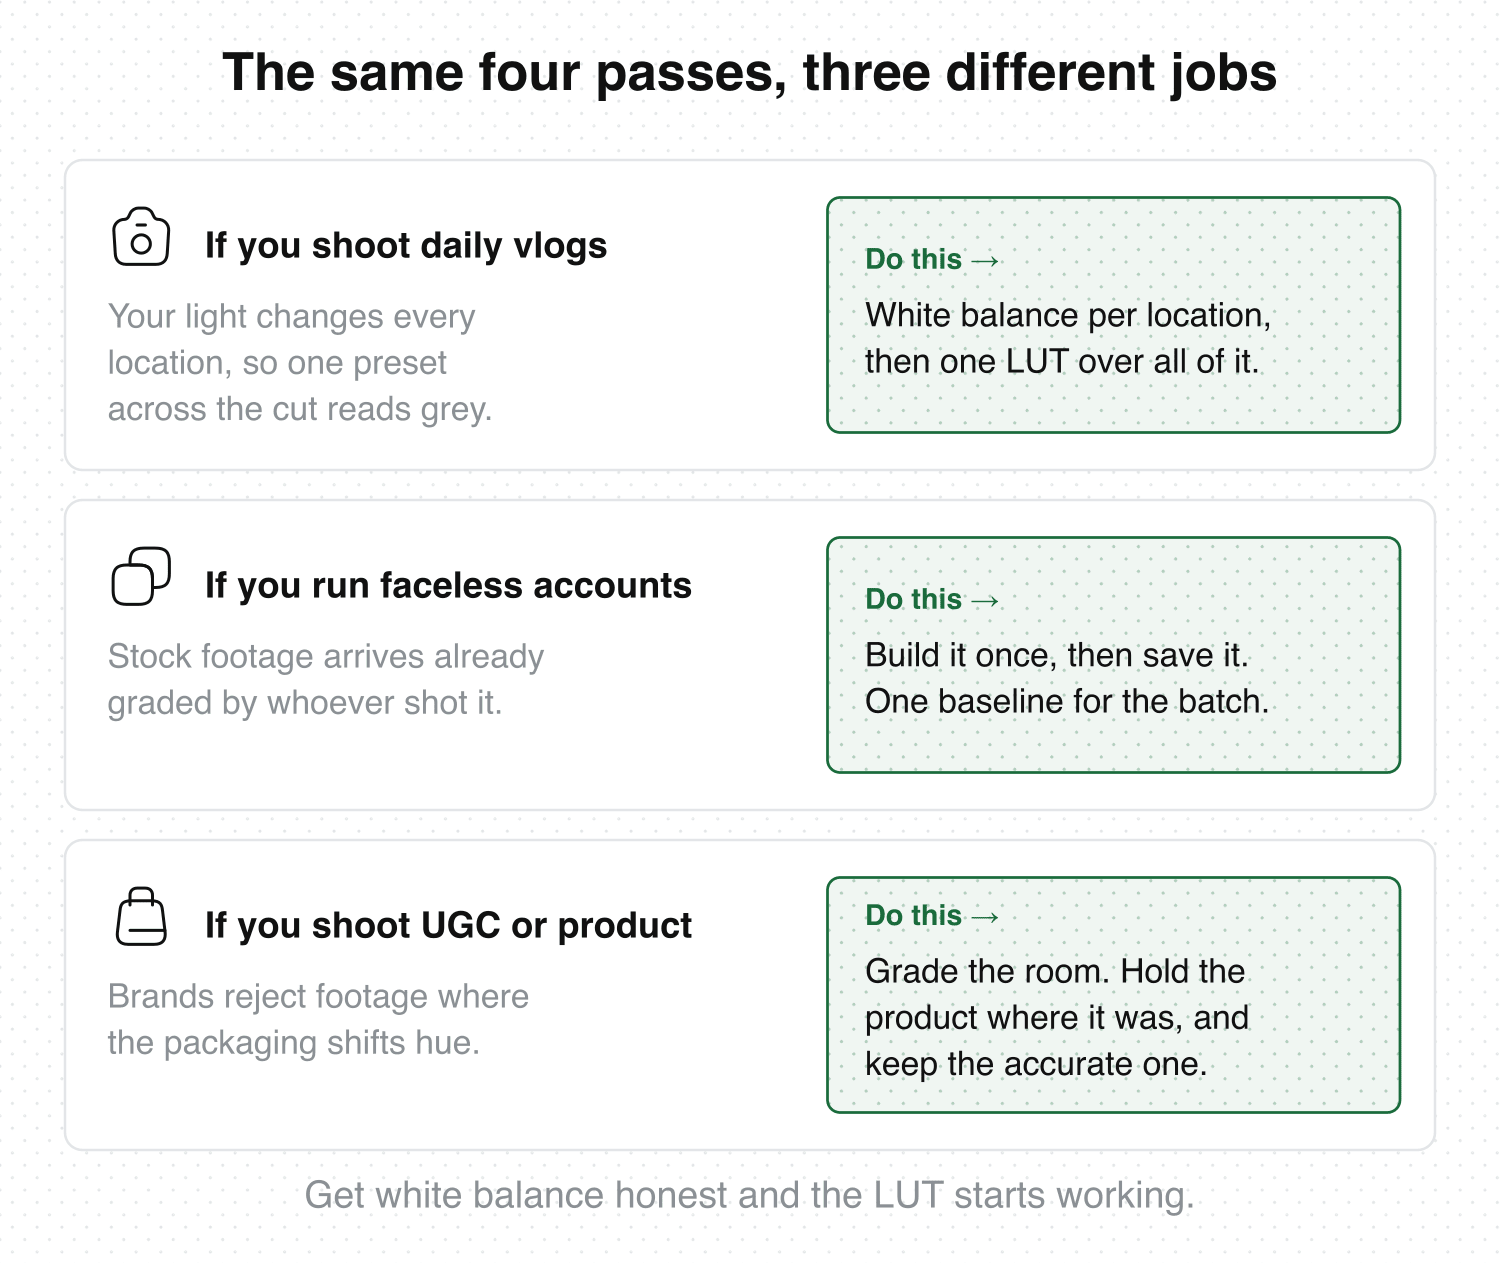
If you shoot daily life and vlogs, your light changes every location, so one preset across the whole cut is what makes it look grey. Set white balance per location, then apply the same LUT over all of it. Two minutes per location beats twenty minutes fighting one grade that fits nowhere.
If you run faceless or multiple accounts, build the grade once and save it. In CapCut that is a saved effect; in Resolve, a still you drag onto every clip. Stock footage arrives already graded by whoever shot it, so the pass that matters is matching clips to each other — one flat baseline across the batch beats four beautiful clips that disagree.
If you shoot UGC or product, the product colour is a deliverable. Brands reject footage where the packaging shifts hue, and a warm LUT does exactly that. Grade the room, hold the product where it was, and check it against the real thing on your desk. Keep the accurate version — that shot has to survive the first two seconds before the drop-off that hits every video around second eight.
Get white balance honest, get one real black in frame, and the LUT you already downloaded starts doing what the preview promised. Our hook examples guide collects openings built on shots like these, and Hookova will take any Short you paste in and show you its structure second by second — save anything, analyze any Short.
Two things stack. The platform re-encodes at a lower bitrate, which flattens gradients, and it may map your colour differently from your camera app’s preview. Grade so the shot survives a lower bitrate — real blacks, moderate saturation — and check the result inside the app, where the compression has already happened.
CapCut has no direct .cube import on mobile. Use the built-in filters, which are LUTs with a friendlier name, and pull the intensity to 40–60%. The desktop version accepts custom LUTs under Adjustment, and VN on mobile imports .cube files directly if you need a specific one.
It maps every input colour to an output colour, one lookup at a time. It can move colours that were recorded. It cannot invent detail in a blown-out sky or a crushed shadow, which is why a LUT never rescues a badly exposed clip.
That is log working correctly. The profile records flat on purpose to protect highlight and shadow detail. Apply the conversion LUT for your camera’s profile and contrast returns.
Only when you plan to grade every clip. Log costs you storage, a mandatory grading pass, and one more thing to get wrong. For a daily posting cadence, the normal camera mode plus a two-minute pass gets you most of the way.
Watch skin. When faces start reading orange or the red in a shirt loses its texture, you have gone past it. Judge it on a phone screen at normal brightness, since that is where the video will be watched.
 Hookova